Showing posts with label Design. Show all posts

Friday, April 22, 2011

Lovin the style at Houndstooth Saloon

Last night, Matt and I hung out and had dinner at Houndstooth Saloon. Fun place, good food and there were some good Chicago games on...Bulls AND Blackhawks won. Even a non sports fan like me can have fun watching games among Chicago fans cause they get so into it. But while everyone was watching the game, I was taking pictures of all the great design elements.

I literally gasped when I saw the ceiling...

Love how it was covered in book pages! Not to mention the lovely white chandelier.


Such a great idea...I'll definitely have to keep this in mind for a wall idea someday.


And I love the occasional illustrated page thrown in.


Another element I was lovin were the dark wood walls


And houndstooth wallpaper


And the wall sconces and faux bookshelf lined booths. There were some other things that I would have liked to take pictures of but taking any more pictures would have definitely made me look like a crazy person.


Oh, and lastly the string of lights outside.


At the end of the night we ended up with this caricature (I mean, I actually paid for it).
Does it look like us? Not really.

Saturday, April 16, 2011

DIY Hanging Tea Light Holders

I saw some cute hanging tea light holders in a magazine but in the magazine they were hanging over a table. I immediately started to think how I could do it myself but it seemed too difficult to hang them over my table so I said to myself (out loud), "How can I make those in my place?" And my sister answered "in your window". Thanks for the idea, Linnea!.

So I did it and it was super easy! One trip to the hardware store, a few supplies and a few hours later...


Supplies: wire, wire cutters, tape measure, pliers (wire ones and larger ones)...


...chain of your liking (I used about 20 ft), hooks (I used six)...and oh yeah, votive holders (with a shape conclusive to being hung), and tea lights


I wrapped the wire around the votive holder for a rough measurement then removed votive holder and used the wire pliers to tightly wrap the wire around itself on one side.


I used the larger pliers to disconnect the chain and make six even pieces of chain. Then I strung the chain through the wire and used the wire pliers to wrap the wire around the other side (again, with the votive holder out).


To hang, twist hooks into the wall using tape measure if you want them spaced evenly. Then hang either at even lengths or different lengths. I went the different lengths route.


I love the warm glow candlelight gives off and this is a simple and easy way to add more to a room. Note: I would not suggest this if you have curtains! Fire hazard! (Maybe you should hang them over your table)

Friday, April 15, 2011

Messy and Beautiful Multi-Colored Paper Banner

We had a 'Spring Celebration' party at our place last weekend. I took it as an opportunity to make fun food and decorate our place! I got my inspiration for this simple, beautiful and cheap decoration from Jordan Ferney's blog (check it out here) and then made my own version.

All you need is a pack of tissue paper, scissors, string and some sort of hooks to hang it (I used 3M hooks but you could hang on other hooks, nails, whatever)

Keep reading for further instructions and finished product...

To make streamers: take one sheet of tissue paper and fold in half hamburger way,
not hot dog way (remember that from elementary school?).

To make each piece different and random lengths, I cut each half again lengthwise at different spots before zig-zag cutting.


Zig-zag cut, leaving at least an inch at the end of each side to keep each streamer in tact for hanging. To further randomize, cut each sheet at different widths.


Hang each streamer on the string as you go otherwise you'll end up with tangled streamers all over the place. Decide what color order you want to hang them in beforehand and cut accordingly because it is way easier to string in that order if you're cutting in that order.


I had to start laying it all out on the floor cause it got too big for the couch. Next step is put the hooks up where you want them. I would suggest using at least four cause it'll slope a little from the weight of the paper so it's good to have reinforcement.

Ask a friend/husband/roommate to help hang it up then slide the paper carefully to even out all the colors.


Then step back and enjoy!


I love it! I'm gonna keep this up for as long as it lasts!


I even made a mini one for our front door.


Wednesday, March 30, 2011

Comparing beds

Speaking of my grandma (in this post) I couldn't help but noticing how similar our taste can be sometimes. While browsing through her house and taking note (and lots of pictures) of things that inspire me, I just couldn't resist taking some pics to compare her bed to ours. I guess that saying may be right...the apple doesn't fall far from the tree...or maybe I just had some good inspiration growing up. Check it out yourself...

My grandma's bedroom


And ours.


Here's another look...
My grandma and grandpa's bed...


...and ours. So similar, right.


And lastly, this is a picture of me from when I was little that my grandma has had in their room for as long as I can remember. And next to it is a wedding picture from when Matt and I got married.

Monday, March 28, 2011

Silver Tea Set: Before and After

Last July I scored a lot of good finds at an antique show at a high school in Eagle River, Wisconsin. One of them was this silver tea set. There was one booth filled with neon beer signs and retro bar paraphernalia. Amongst all the beer glasses and deer themed garb was this lovely silver tea set...and for super cheap!

My grandma was with me (who is incredibly knowledgeable in the area of antiques, more on that another time) and so she took a look and said that it was quality silver and a very good find (her guess is that it's from around the 1930's). She even offered to help me polish it up...so eight months later I took her up on that offer! I thought I'd share the results...

Before...


During...
My grandma scrubbing away


After...


Here is a close up of the tray before...

and after...
So beautiful! I loved the tea set before but I'm glad I decided to shine it up. We left some of the pattern less polished because it really brings out the details.

Saturday, March 19, 2011

New Windows

The good thing about renting is that every once in a while you get a call like "Hey, so we want to upgrade your windows for you. Oh, and we'll redo all the tile in your bathroom while we're at it." So you come home from work one day and the window fairy has come and gone (and has cleaned up after himself like he was never there).

Here is one of the old ones...


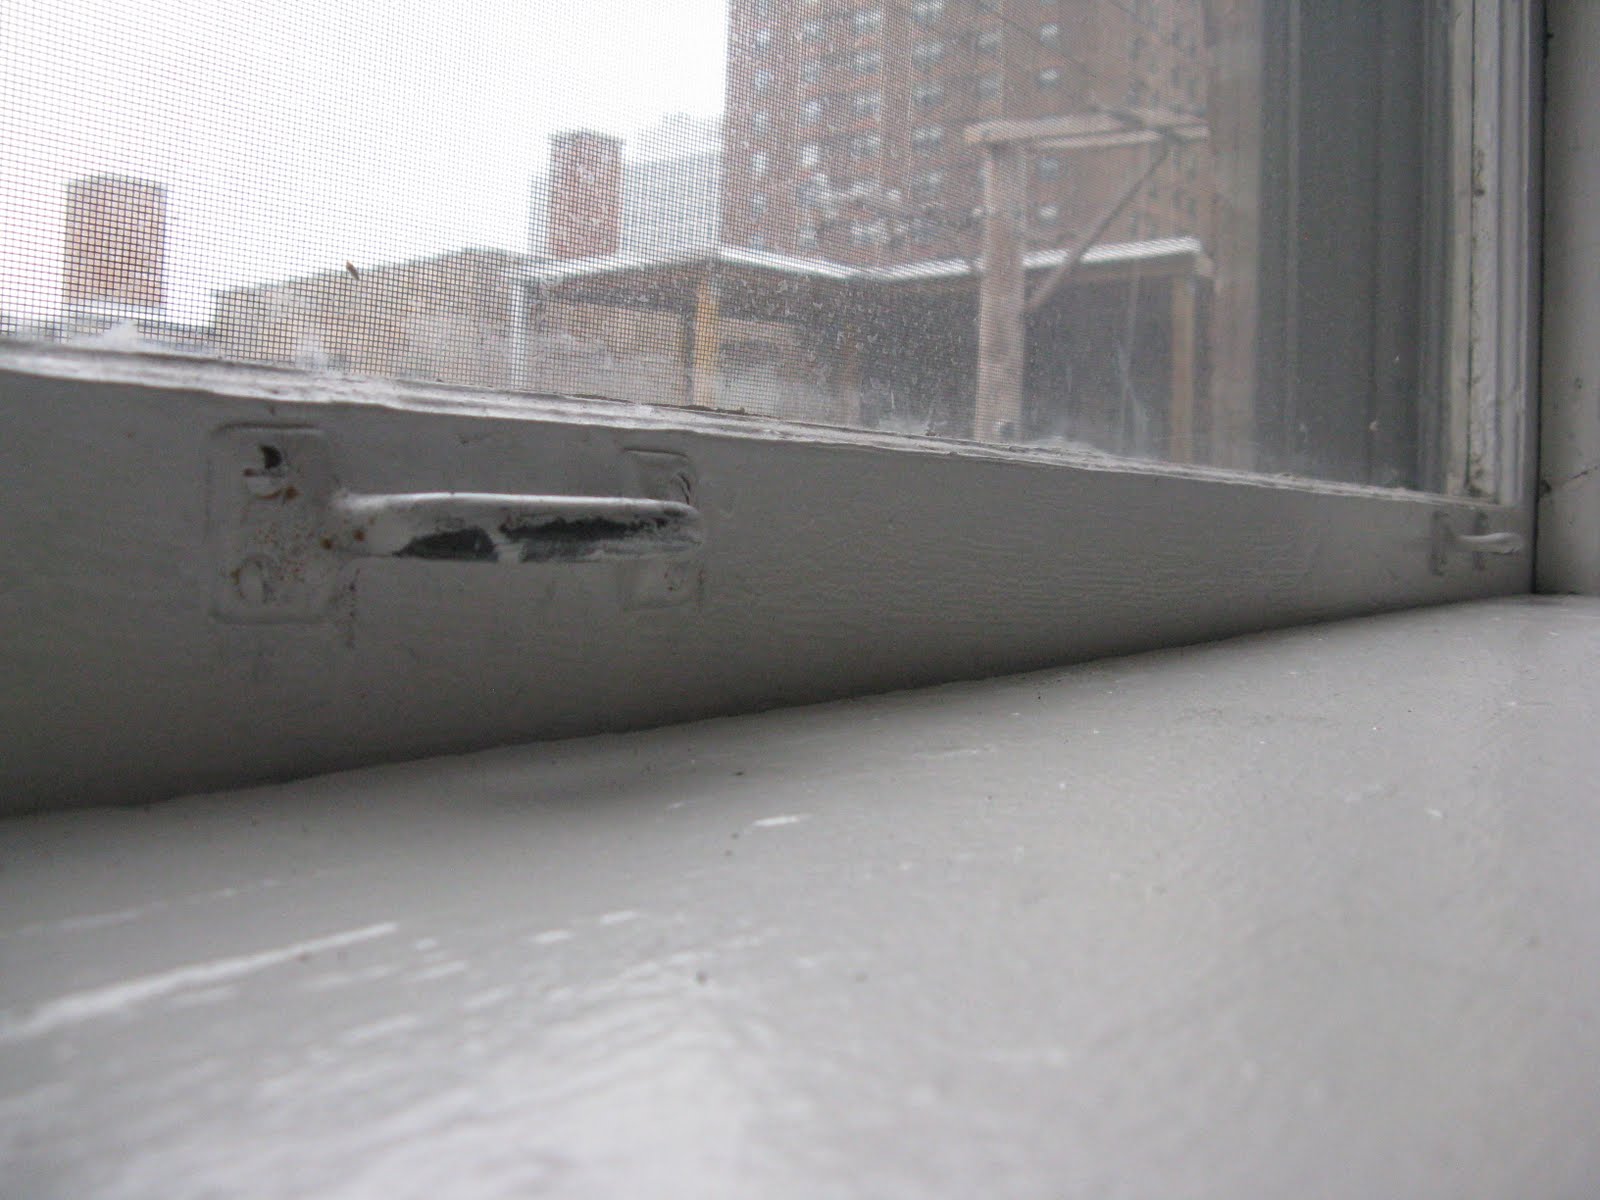
I have to say that I did like the old ones for their vintage features.


But I guess being able to properly open and shut your windows wins out over cool looking chains...but just barely.


Here are the new ones...


Old hardware


New hardware


Okay, the worst of our old windows was the one in the kitchen. I wasn't sad to see this one go. Look how dingy and dirty it was (and impossible to clean because of the metal grate on the other side).


And now it's gleaming! I couldn't believe how bright the kitchen became. Still impossible to clean but fine for now.


Out with old and in with the new. And no effort required on our part.

And for an update of our plans...we have decided to renew our lease and stay in our place for one more year. We went back and forth but in the end it seems like the best (and most realistic) thing to do is rent one more year. So that means we'll be in this place until June 2012.


Related Posts Plugin for WordPress, Blogger...